Library
File Conversion Tool
Convert 3D and image files between formats directly inside 3DPrintManager
Updated
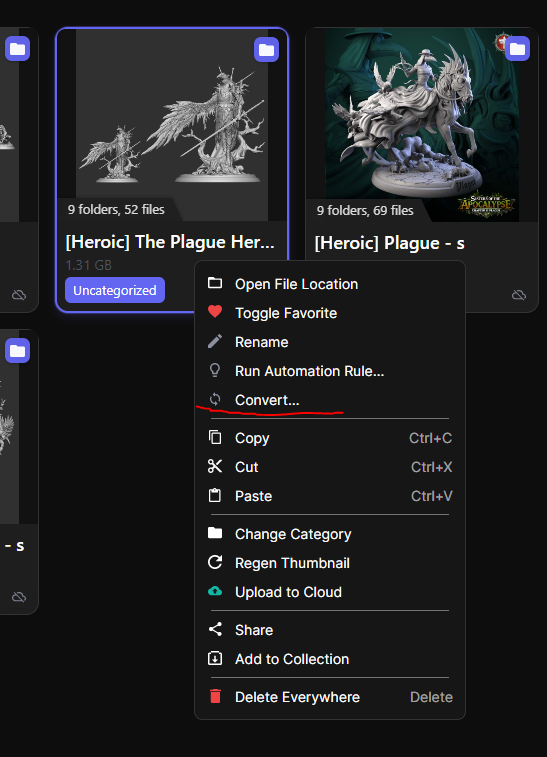
Right-clicking files or folders in your library gives you a Convert… option. It covers a variety of formats across different file types.
Single-file conversion is free; converting more than one file at a time requires Pro.
What can be converted
3D mesh formats
You can convert between STL, OBJ, and 3MF in any direction.
Image formats
PNG, JPG, WEBP, and BMP convert to each other freely. Images can also be converted to PDF (one image per page). PDFs convert out to PNG, JPG, WEBP, or BMP — multi-page PDFs produce one output image per page, named filename_page1.png, filename_page2.png, and so on.
Opening the dialog
Right-click any file card or folder card in the library and choose Convert…
The command works on your current selection:
- Single file — converts that file.
- Multiple files selected — batch converts all convertible files in the selection.
- Folder selected — scans the folder recursively for convertible files.
- Mixed selection — combines individual files with everything found inside selected folders.
Convert… is disabled for cloud-only files (files that haven’t been downloaded locally yet).
The Convert Files dialog
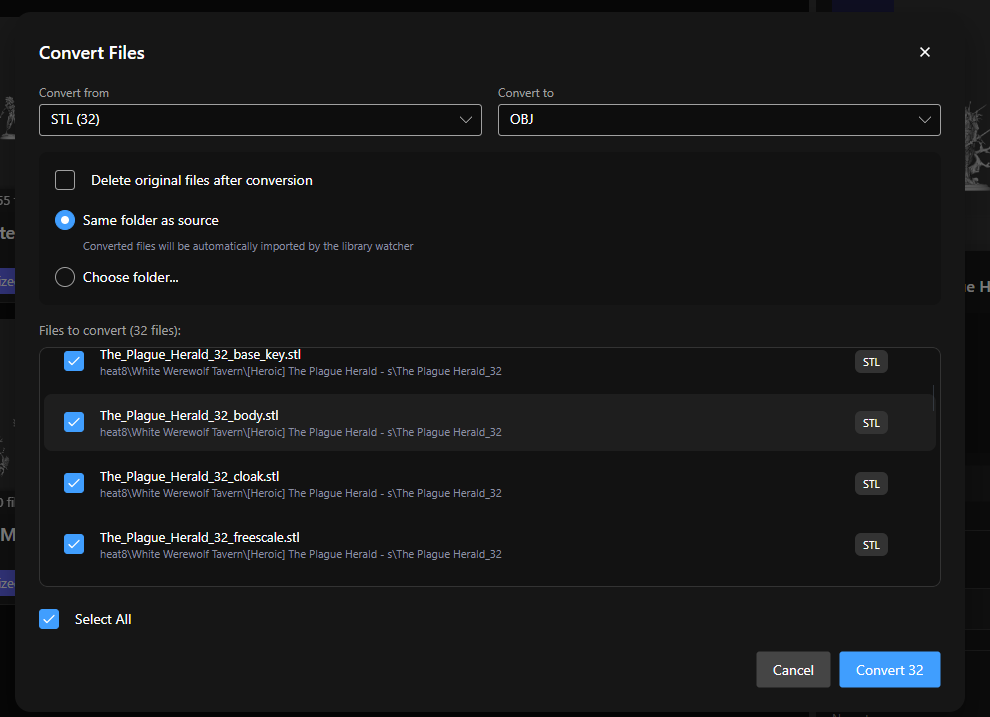
Choosing source and target formats
The Convert from dropdown lists the file types actually found in your selection, each with a count — so if you right-clicked a folder that turned up 12 OBJ files and 4 PNG files you’ll see “OBJ (12)” and “PNG (4)” rather than a generic list. Conversions run one file type at a time (an STL and a PNG have no format in common), so the dropdown starts on the most common type in your selection; switching it filters the file list immediately.
The Convert to dropdown updates based on what you selected in Convert from. It only shows formats that are valid targets for those source files, and it never shows the source format itself.
Options
Delete original files after conversion — unchecked by default. When you check it, a warning appears: “Original files will be permanently deleted after conversion.” The originals are only deleted after each file converts successfully, so a failed conversion never deletes the source.
Output location — two radio buttons:
- Same folder as source — the converted file lands right next to the original. A note underneath reads “Converted files will be automatically imported by the library watcher” — meaning you don’t have to do anything; the file just appears in your library automatically after a few moments an import will trigger after conversion.
- Choose folder… — a Browse button appears so you can pick a custom output directory. Files sent outside the library root won’t be auto-imported.
Image and PDF conversions are always performed at maximum quality — there are no quality or resolution settings to worry about.
Running the conversion
Click the Convert button to start. The button disappears and the progress bar appears in its place, along with a “Converting file X of N…” status. Each row in the list gains a status indicator as its file is processed — a checkmark for success, an error icon with a tooltip for failures.
You can click Cancel at any time. Cancellation waits for the file currently being processed to finish before stopping, so you won’t end up with a half-written file.
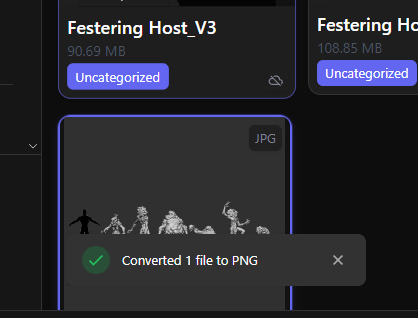
When it’s done the dialog closes automatically and a toast notification summarizes the result: something like “Converted 14 files to STL” or “Converted 12 of 14 files (2 errors)”.
If a converted filename would conflict with an existing file, the app appends a suffix automatically: dragon_converted.stl, dragon_converted_2.stl, and so on — nothing is overwritten.
A note on cloud sync
If you have cloud sync on, converted files that land inside your library are treated as new files — they’ll be queued for upload the same way any other newly imported file would be. If you also checked Delete original files after conversion, the originals get queued for deletion from the cloud too. Both happen automatically through the normal sync flow; nothing special to configure.